Neo Mapping Guide for Complex Terrain: Practical Field
Neo Mapping Guide for Complex Terrain: Practical Field Workflow, Signal Discipline, and Smarter Capture
META: A practical how-to for using Neo in complex terrain, with field mapping tips on obstacle avoidance, antenna adjustment under electromagnetic interference, ActiveTrack, QuickShots, Hyperlapse, and D-Log capture.
Mapping uneven land sounds straightforward until the site starts working against you. Hills break line of sight. Tree lines distort your sense of scale. Metal sheds, utility hardware, and buried infrastructure can complicate signal behavior. And if you are trying to build a clean visual record of fields rather than just grab a few attractive clips, the difference between casual flying and disciplined capture becomes obvious very quickly.
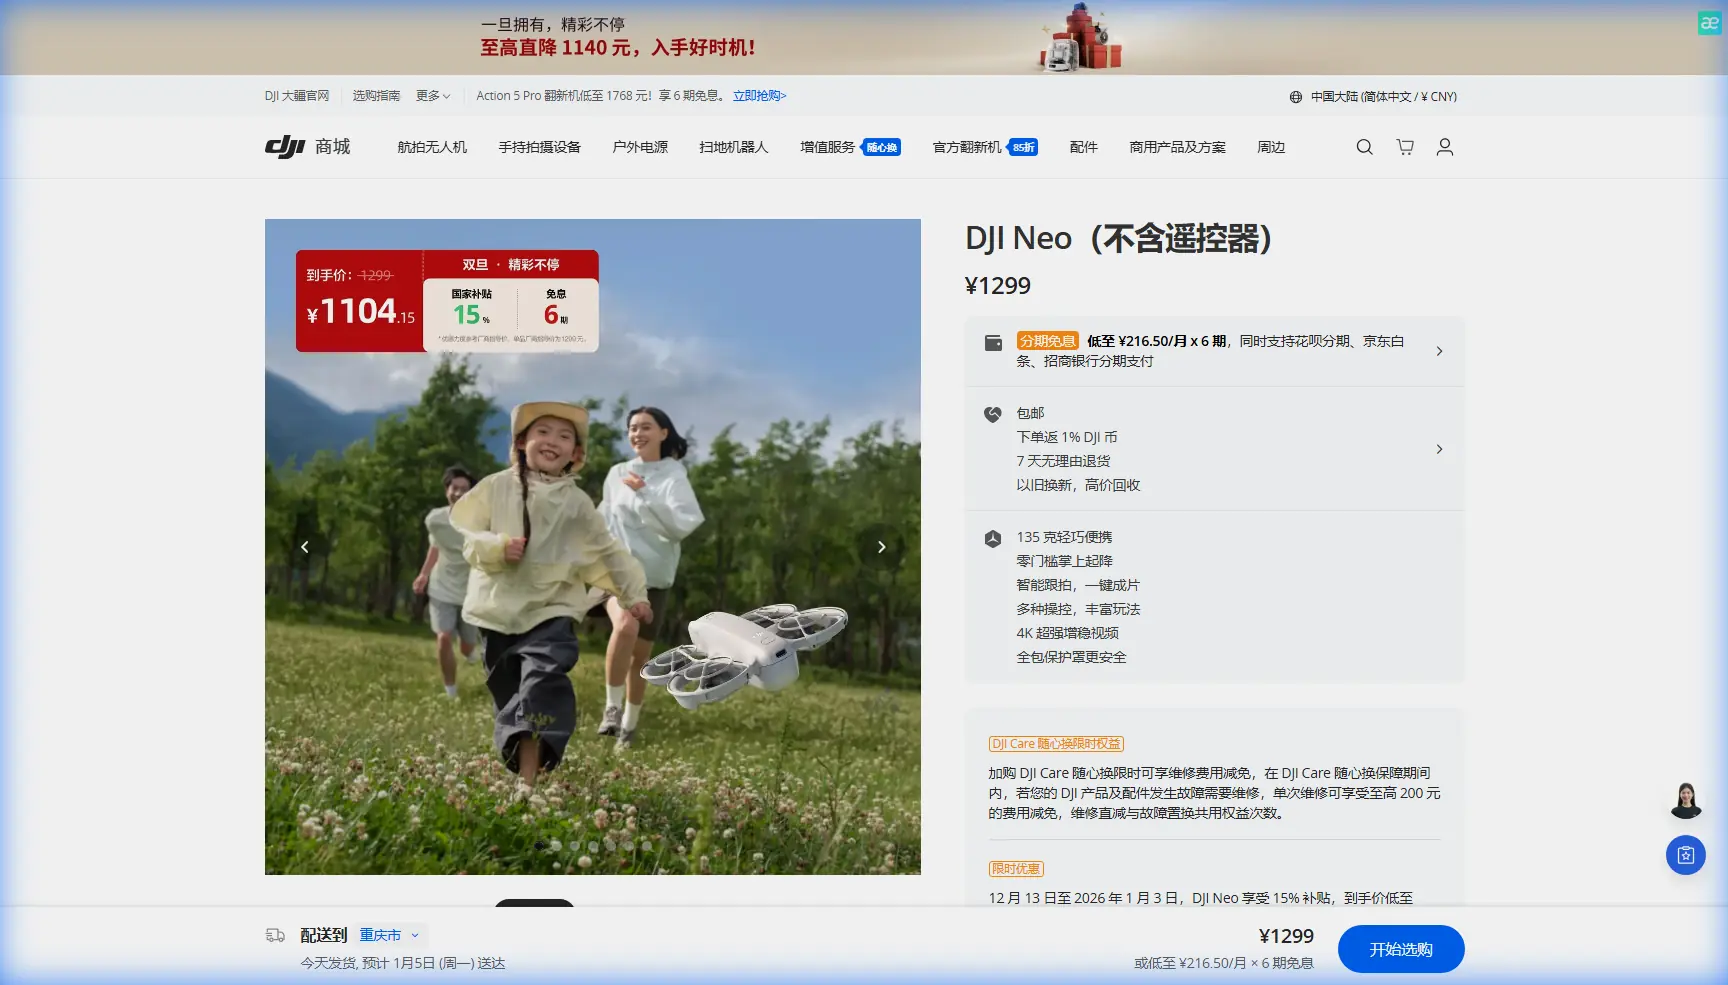
That is where a compact platform like Neo becomes interesting.
Neo is often discussed for its ease of use, subject tracking features, and fast-access creative modes such as QuickShots and Hyperlapse. Those features matter, but not for the reason many people assume. In complex terrain, they are not just “nice extras” for content creators. Used properly, they help a field operator maintain consistency, preserve situational awareness, and document land in a repeatable way. For a photographer working in agricultural and rural environments, that combination is more useful than raw size or speed alone.
This guide is built for a specific job: mapping fields in difficult topography with Neo. Not cadastral surveying. Not engineering-grade geodesy. This is about producing reliable visual field intelligence for crop review, drainage observation, access planning, boundary understanding, and progress documentation when the land is not flat and the air environment is not always clean.
Start with the real objective, not the drone
Before batteries are charged, define what “mapping” means for the job in front of you.
On flat land, operators can get away with broad, loose coverage because the terrain itself does not interrupt visual continuity very much. In complex terrain, that approach creates gaps. A terrace hides a lower section. A ridgeline blocks context. A line of trees can make two adjacent areas look disconnected when viewed from a single angle.
So the first decision is not flight mode. It is the output:
- Do you need a full-field visual record?
- Are you tracking erosion or drainage paths after weather?
- Are you comparing crop condition between upper and lower elevations?
- Are you documenting access lanes and field edges for repeated visits?
Once that is clear, you can design the capture pattern around the landform.
With Neo, I recommend thinking in layers rather than one “master flight.” Use one pass for broad orientation, one for mid-level lateral context, and one for low-altitude detail where the terrain changes sharply. That structure makes the drone’s compact size and automation features work for you rather than tempting you into a rushed single-flight compromise.
Pre-flight: read the terrain like a signal problem
Complex fields are not only a visual challenge. They are a radio environment.
One of the easiest mistakes to make is assuming signal weakness is always about distance. In rural mapping work, electromagnetic interference can come from nearby equipment, power infrastructure, metal-roofed outbuildings, irrigation systems, or even the way the aircraft and controller are physically oriented relative to terrain and reflective surfaces.
That is why antenna discipline matters.
If you notice unstable transmission or inconsistent responsiveness, do not immediately push higher or farther. First, reassess your position and antenna alignment. Small adjustments can make a noticeable difference. Keep the controller oriented so the antenna pattern is directed effectively toward the aircraft rather than casually pointed away during screen-focused operation. If a slope or structure sits between you and Neo, move laterally to restore a cleaner path instead of trying to “power through” the interference. In practical field work, a five-meter relocation by the pilot can solve what a less experienced operator misreads as a drone problem.
That operational habit matters because mapping depends on continuity. A signal disruption during a key pass can leave you with inconsistent overlap, missing transitions, or exposure mismatches if you have to restart from a new location.
I also avoid standing next to obvious interference sources when launching. Fences, vehicles, transformers, and steel farm structures can all complicate the first phase of flight, which is exactly when you want the cleanest possible control link.
Build a repeatable capture sequence
For field mapping in mixed terrain, I like a three-stage sequence with Neo.
1. Orientation pass
Begin with a conservative altitude that lets you understand the shape of the site without climbing so high that slopes visually flatten. If you go too high too soon, the ridges and depressions that matter for drainage or crop variation can become harder to read.
This first pass is not about beauty. It is about establishing the site’s geometry:
- high points
- low channels
- tree barriers
- entry routes
- reflective surfaces
- possible interference zones
Fly slowly. Let obstacle avoidance support your awareness near trees, poles, and edge vegetation, but do not treat it as permission to get casual. In irregular farmland, obstacle avoidance is most useful as a margin of safety while you concentrate on framing and route consistency. Its real value is workload reduction. Instead of dedicating all your attention to immediate collision risk, you can spend more mental bandwidth on whether the field is being documented in a logical sequence.
2. Mid-level structure pass
This is where Neo starts proving its practical value. At mid altitude, capture the field in parallel or contour-following segments depending on the shape of the land. On terraced or sloping ground, contour-following routes often produce more readable documentation than rigid straight lines, because they preserve the relationship between elevation change and vegetation pattern.
Here, subject tracking tools such as ActiveTrack can be more useful than many mapping operators expect. Not for tracking a person as a lifestyle shot, but for maintaining coherent framing around a moving reference such as a utility vehicle traveling the field edge or a walk-through inspection along a drainage line. When used carefully, ActiveTrack helps create a stable contextual record of access routes and field-side features without constant manual reframing.
That matters in real operations because access determines repeatability. If a client or farm manager wants to revisit the same route next month, a clean tracked sequence is often more operationally useful than a disconnected set of stills from random vantage points.
3. Low-altitude detail pass
This final layer is where you capture the field’s problem areas: washouts, patchy growth, standing water, edge damage, or lane deterioration. Keep your speed down. The lower you are, the more visible every control input becomes in the footage.
QuickShots can help here when used with discipline. That may sound unconventional in a mapping guide, but a controlled automated movement around a landmark tree, irrigation point, storage area, or gate can create a repeatable reference view for future comparison. The point is not cinematic flair. It is consistency. If you document the same feature in the same style over time, change becomes easier to spot.
Use D-Log when the terrain has contrast problems
Fields in complex terrain often produce ugly light. Bright exposed ridges, shadowed dips, reflective wet patches, and dark tree lines can all appear in the same frame. Standard color can look punchy at first glance but may clip highlights or crush subtle texture in the low ground.
This is where D-Log earns its place.
If your workflow includes post-processing, D-Log gives you more flexibility to preserve tonal detail across mixed lighting conditions. Operationally, that means you can recover shadow information in a gully while retaining the bright detail on a sunlit slope. For land assessment and repeated documentation, this is not a cosmetic issue. Texture and tonal separation can reveal where water collects, where plant vigor changes, or where vehicle traffic has altered the surface.
If you are capturing in D-Log, stay consistent. Do not switch profiles randomly mid-session unless lighting changes dramatically. Mapping footage gains value when visual interpretation remains stable from one pass to the next.
Hyperlapse is not just a creative tool
Hyperlapse gets labeled as a content feature, but in the field it can serve a practical purpose when used selectively.
If you need to show how fog lifts from lower ground, how wind moves across crop lines, or how activity changes around a loading area over time, Hyperlapse can compress a slow environmental shift into something immediately readable. In hilly fields, microclimate differences between upper and lower zones can be hard to explain in stills alone. A time-compressed visual record often clarifies the story faster than a written note.
The key is restraint. Do not substitute Hyperlapse for primary documentation. Use it to add one layer of temporal context to a mapping package that is already spatially organized.
Obstacle avoidance helps most when the terrain narrows your options
In open farmland, obstacle avoidance is a comfort feature. In complex terrain, it becomes more operationally significant.
Think about a field bordered by trees on one side, a utility line corridor on another, and a rising slope that changes your available angles. In that environment, route choices are constrained. You may need to reposition while maintaining visual continuity, and small misjudgments become more likely during repeated low and mid-altitude passes.
Obstacle avoidance cannot replace pilot judgment, but it can smooth out the workflow by reducing the chance that a small framing correction turns into a larger problem. In practical terms, it allows a more confident, slower, more methodical approach to documenting irregular edges and transition zones.
That is especially helpful for photographers moving into field mapping work. A visual creator often has strong instincts for composition but less tolerance for cluttered, utility-heavy airspace near working land. Neo’s assistance features can shorten that learning curve if they are treated as support, not autopilot magic.
Handle electromagnetic interference methodically
Let’s return to one of the most overlooked field skills: reacting correctly when the control link becomes less reliable.
If interference appears:
- Pause the mission logic.
- Check your own stance and controller orientation.
- Adjust antenna direction toward the aircraft.
- Move away from metal surfaces, vehicles, and power-adjacent structures.
- Restore a more direct line of sight if terrain is blocking the path.
- Resume only when the link is stable.
This sequence sounds simple because it is. Yet it is one of the biggest separators between smooth field documentation and chaotic re-flights.
I have seen operators keep flying while troubleshooting in their head, which usually creates two problems at once: a control issue and a coverage issue. Antenna adjustment is not an afterthought. It is part of capture discipline. In a sloped agricultural environment, the cleanest radio path is not always where you first stood. Accept that and reposition early.
If you want to compare field notes or ask about a tricky terrain setup, this direct Neo workflow chat can be useful: https://wa.me/85255379740
Keep your files organized by terrain logic
A good mapping session can be wasted by poor file structure.
When you land, sort footage by:
- orientation pass
- mid-level structure pass
- low detail pass
- route or sector
- lighting condition
If the field includes upper, middle, and lower sections, label them that way. If one side has known interference from nearby infrastructure, note it immediately while the experience is fresh. That context helps later when you notice a brief signal drop, framing inconsistency, or exposure shift.
For repeat visits, duplicate the same folder structure every time. Consistency is how field documentation turns into operational intelligence rather than a pile of clips.
A photographer’s mindset actually helps here
As a photographer, I think Neo works best in complex terrain when you stop trying to make every pass look dramatic. The job is to make the land legible.
That means:
- holding shots longer than feels natural
- resisting flashy altitude swings
- repeating similar angles on purpose
- letting automation support consistency
- using D-Log when contrast is messy
- treating ActiveTrack and QuickShots as repeatability tools
- using Hyperlapse only when time change itself matters
The operators who get the most value from a compact drone in the field are usually the ones who understand that clarity beats spectacle. When the ridge, drainage line, gate access, and crop transition are all easy to read, the aircraft has done its job well.
Neo is not interesting because it can do a little of everything. It is interesting because, in a disciplined workflow, its obstacle avoidance, subject tracking, QuickShots, Hyperlapse, ActiveTrack, and D-Log options can be combined into a practical documentation system for difficult land. Add smart antenna adjustment when electromagnetic interference appears, and you avoid one of the most common reasons field sessions lose momentum.
Complex terrain rarely rewards improvisation. A repeatable method does.
Ready for your own Neo? Contact our team for expert consultation.